- Published on
10 min read
Deploy NestJS with Docker, Heroku, and GitHub Actions
- Authors
- Name
- Shariq Hirani
- @shariqhirani


- The NestJS Cloud-Native Toolchain
- Creating a NestJS Example Project
- Add your NestJS Repository to GitHub
- Configuring the NestJS Dockerfile
- Building the NestJS Docker Container
- Run the NestJS Docker Development Server
- Setting up Heroku For Your NestJS Docker Container
- Heroku GitHub Actions YAML For CI/CD
- Update The NestJS Application To Bind To a Random Heroku Port
- Setting Up GitHub Actions Secrets
- NestJS Docker Production Environment
The NestJS Cloud-Native Toolchain
NestJS has made its way onto the API development scene with robust support for RESTful and GraphQL queries. Thanks to its opinionated approach and MVC pattern enforcement, we're able to quickly stand up API services and have them immediately available for consumption by our users. Though working with NestJS is well documented, focusing on deploying containerized NestJS microservices is not. We're going to cover the fastest way to get a live API microservice running with NestJS and Docker while creating a CI/CD pipeline with GitHub Actions to deploy to Heroku.
Creating a NestJS Example Project
Firstly, we'll need to spin up a local NestJS example project using the CLI. Documentation can be found on the official site, but the steps will be covered below. As a prerequisite, you'll need Node and npm available to you.
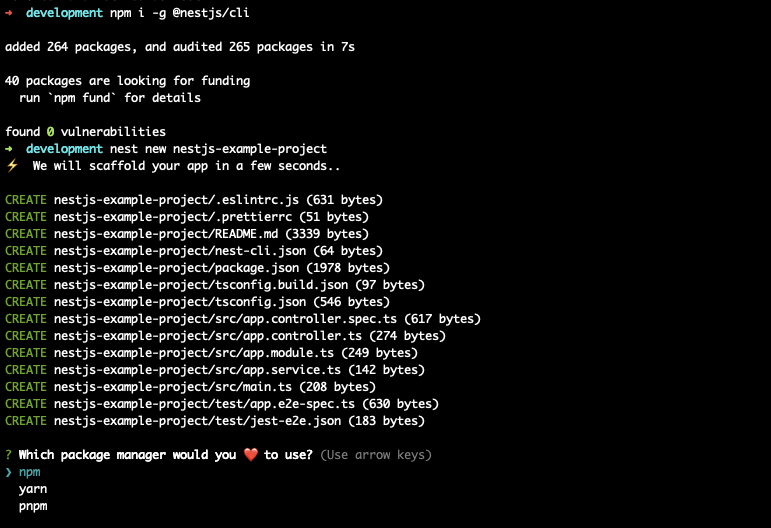
Firstly, install the Nest CLI with npm and create a project. The CLI can be invoked with the nest command.
npm i -g @nestjs/clinest new nestjs-example-projectIf more insight is needed on the tooling and setup of NestJS, visit the official documentation as we will not be covering that in this walkthrough. There are going to be a few intersecting pieces, so take it slow and follow the steps to have a working project by the end of this tutorial.
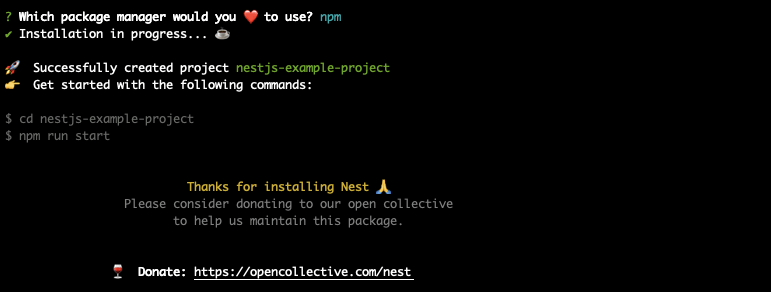
Select your preferred package manager. I'm partial to npm and that's what this tutorial is based on.

The project will complete set up, and you'll have a shiny new NestJS project set up.

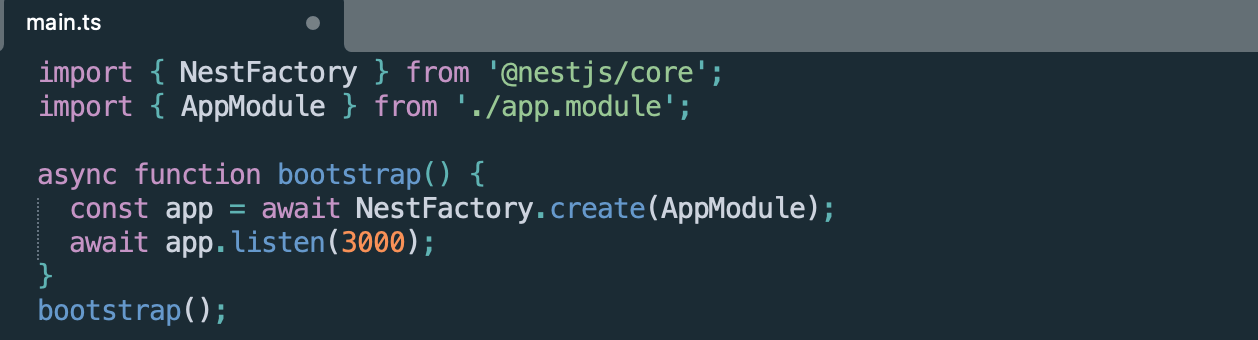
By default, NestJS launches applications on port 3000. This can be modified in the /src/main.ts file as seen in the screenshot.

Start your NestJS application in dev mode for live reloading.
npm run start:devOnce confirmed that the application starts up as expected, send a GET request to the root path at localhost:3000 and a "Hello World!" with a status code of 200 should be returned. This can be tested with Postman, cURL, or any tooling of your choice. The cURL command is as follows.
curl -X GET 'localhost:3000'The response should print similar to below. Stop the instance before moving on ctrl/cmd + c.


Add your NestJS Repository to GitHub
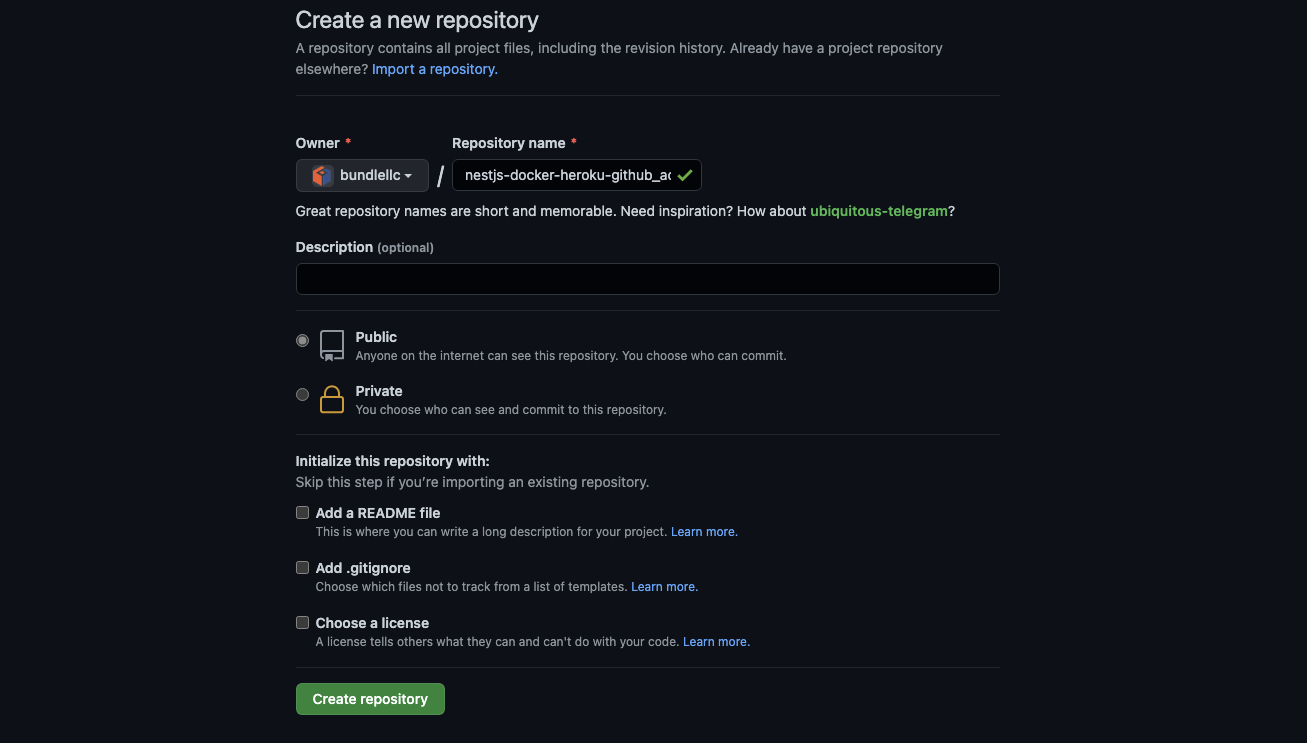
Log in to GitHub and create a new repository. Press Create repository to complete this. I named the repository nestjs-docker-heroku-github_actions-example.

Come back to your terminal and complete the steps outlined by GitHub to push up your local branch (or follow the steps below).
git initgit add .git commit -m "first commit"git branch -M maingit remote add origin git@github.com:<INSERT_YOUR_GITHUB_ORG>/nestjs-docker-heroku-github_actions-example.gitgit push -u origin mainConfiguring the NestJS Dockerfile
Next, we'll look at configuring the NestJS Dockerfile. At the root of your application, create a Dockerfile.
touch DockerfileThe Dockerfile will be broken into two steps.
- Build the NestJS project
- Create a new docker image with only the necessary components for Docker to run a NestJS project.
The steps will be separated with the # --- moniker within the Dockerfile itself.
Copy the Dockerfile configuration into your local repository. See the description for each of the commands below.
FROM node:16.8-alpine3.11 as builder
ENV NODE_ENV build
WORKDIR /home/node
COPY . /home/node
RUN npm ci \    && npm run build \    && npm prune --production
# ---
FROM node:16.8-alpine3.11
ENV NODE_ENV production
USER nodeWORKDIR /home/node
COPY --from=builder /home/node/package*.json /home/node/COPY --from=builder /home/node/node_modules/ /home/node/node_modules/COPY --from=builder /home/node/dist/ /home/node/dist/
CMD ["node", "dist/main.js"]
FROM node:16.8-alpine3.11 as builder creates a base layer image from an alpine-based node image on Docker Hub.
ENV NODE_ENV build sets the environment variable for NODE_ENV.
WORKDIR /home/node sets the current directory within the base layer image.
COPY . /home/node copies all our local files within the current directory to the /home/node directory within the base layer image.
RUN npm ci && npm run build && npm prune --production can be broken down into three specific npm commands.
npm ci is similar to npm i except it's a clean install that skips some user-specific steps that shouldn't affect a production build.
npm run build is a shortcut script (is it, really?) for the nest build command. Check the package.json for other scripts.
npm prune --production is a tree shake to remove unused packages. The --production flag will get rid of any packages defined in a project's devDependencies.
USER node sets the current user to a user named node.
COPY --from=builder /home/node/package*.json /home/node/ and the rest of the copy commands take the build from the initial docker image which we named builder on line 1 and moves them to our new, minified image.
CMD ["node", "dist/main.js"] tells docker which command NestJS needs to run when the container is spun up.
Building the NestJS Docker Container
Test out the new Dockerfile, but be sure to delete the node_modules and dist folders if they exist otherwise access errors like below will hinder you.
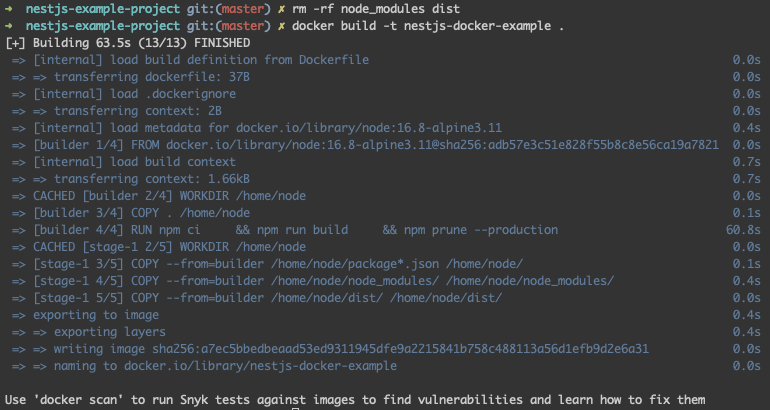
[Error: EACCES: permission denied, unlink 'dist/app.controller.d.ts'] { errno: -13, code: 'EACCES', syscall: 'unlink', path: 'dist/app.controller.d.ts' }docker build -t nestjs-docker-example .This command creates your docker image based on the Dockerfile at your current terminal location. the -t is to assign a tag. In our case since none is defined, it will get the latest denomination you'll see in the screenshot below.
After a few minutes, you should have a successful output message.

To further validate that your image is ready, check that the image exists locally.
docker imagesThe output should print the new image.


Run the NestJS Docker Development Server
With the image created, use docker to run the command to build and launch a container to test that all the steps covered are working as expected.
docker run -p 3000:3000 nestjs-docker-exampleThe application should spin up with some logs. Re-run the cURL command from earlier to ensure that we're still getting the correct response. Everything should look the same, even though we're now running a containerized instance of NestJS.
Stop the container and let's continue on to get the NestJS application ready for Heroku and GitHub Actions.
Setting up Heroku For Your NestJS Docker Container
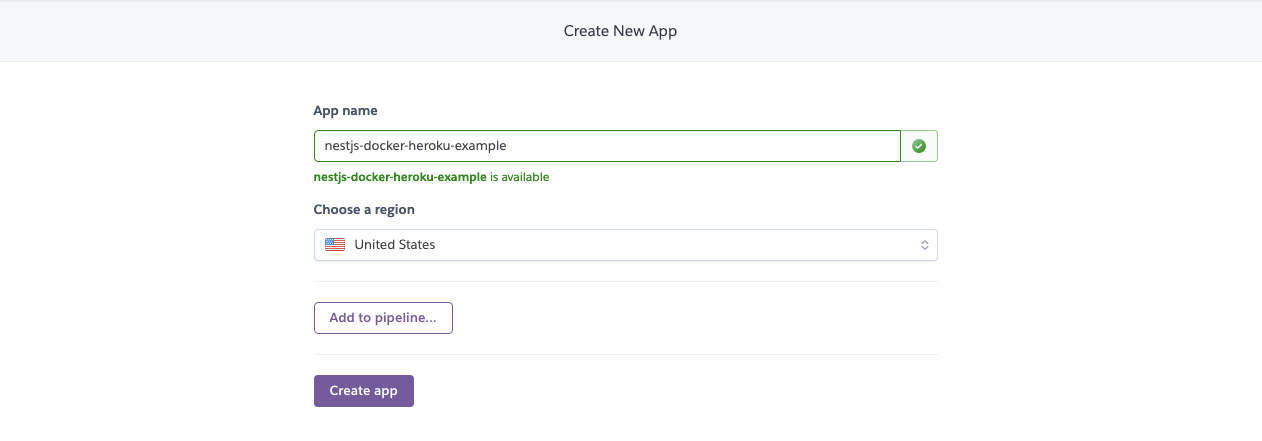
Login to the Heroku site and create a new application.


Name it whatever you like, as long as it's unique, and select Create new app.

We're done with Heroku for now, but will need to revisit it to grab your API key, so don't close the tab.
Heroku GitHub Actions YAML For CI/CD
Switching back to your terminal, create a new folder structure to house the GitHub Actions YAML (.yml) within the nestjs-example-project and then create the file itself. The folder structure is non-negotiable, this is where GitHub will look for your workflow.


Paste the following into your file.
name: Deploy
on:  push:    branches:      - main
jobs:  build:    runs-on: ubuntu-latest    steps:      - uses: actions/checkout@v2      - uses: akhileshns/heroku-deploy@v3.12.12        with:          heroku_api_key: ${{secrets.HEROKU_API_KEY}}          heroku_app_name: "<YOUR_HEROKU_APP_NAME>"          heroku_email: "<YOUR_HEROKU_EMAIL>"          usedocker: true
name: Deploy defines the name of the GitHub Action workflow
on: push: branches:- main determines the trigger for your GitHub Action. In this case, whenever a push or merge is made to the main branch. You may need to modify this if you still use the master nomenclature.
jobs: build: runs-on: ubuntu-latest defines which operating system and version of the OS the action should be run on.
steps: is the meat of the file and outlines the individual actions GitHub needs to take to successfully deploy your application.
- uses: actions/checkout@v2 calls a pre-built action from the GitHub Actions Marketplace to check out your branch. You could write this out manually.
- uses: akhileshns/heroku-deploy@v3.12.12 is another pre-built action that will run your Dockerfile steps. This
can also be manually created if you need any customization. Feel free to check out this post for instructions.
with: indicates any variables the action needs to complete the specified script. In our case, we need to provide heroku_api_key, heroku_app_name, heroku_email, and set the boolean usedocker.
Update The NestJS Application To Bind To a Random Heroku Port
Unfortunately, Heroku decides which port will be allotted to your application and sets the PORT environment variable on the host. Up until now, we've been using 3000 without much trouble but this changes. Update the /src/main.ts file to be able to handle a random port.
import { NestFactory } from '@nestjs/core';import { AppModule } from './app.module';
const PORT = process.env.PORT || 3000;
async function bootstrap() {  const app = await NestFactory.create(AppModule);  await app.listen(PORT);}bootstrap();
const PORT = process.env.PORT || 3000 allows us to look for the environment variable. If it doesn't exist the application will default to 3000. This way, we don't break local development either.
await app.listen(PORT) just grabs the port that's set and passes it to the app to look for requests.
Setting Up GitHub Actions Secrets
Though we've configured our application repository now, unfortunately, we won't be able to pass this pipeline without setting up our heroku_api_key unless you hardcoded it in the steps above. This is a bad idea, mainly because it would be source controlled in plain text and there are enough horror stories as to what could happen there.
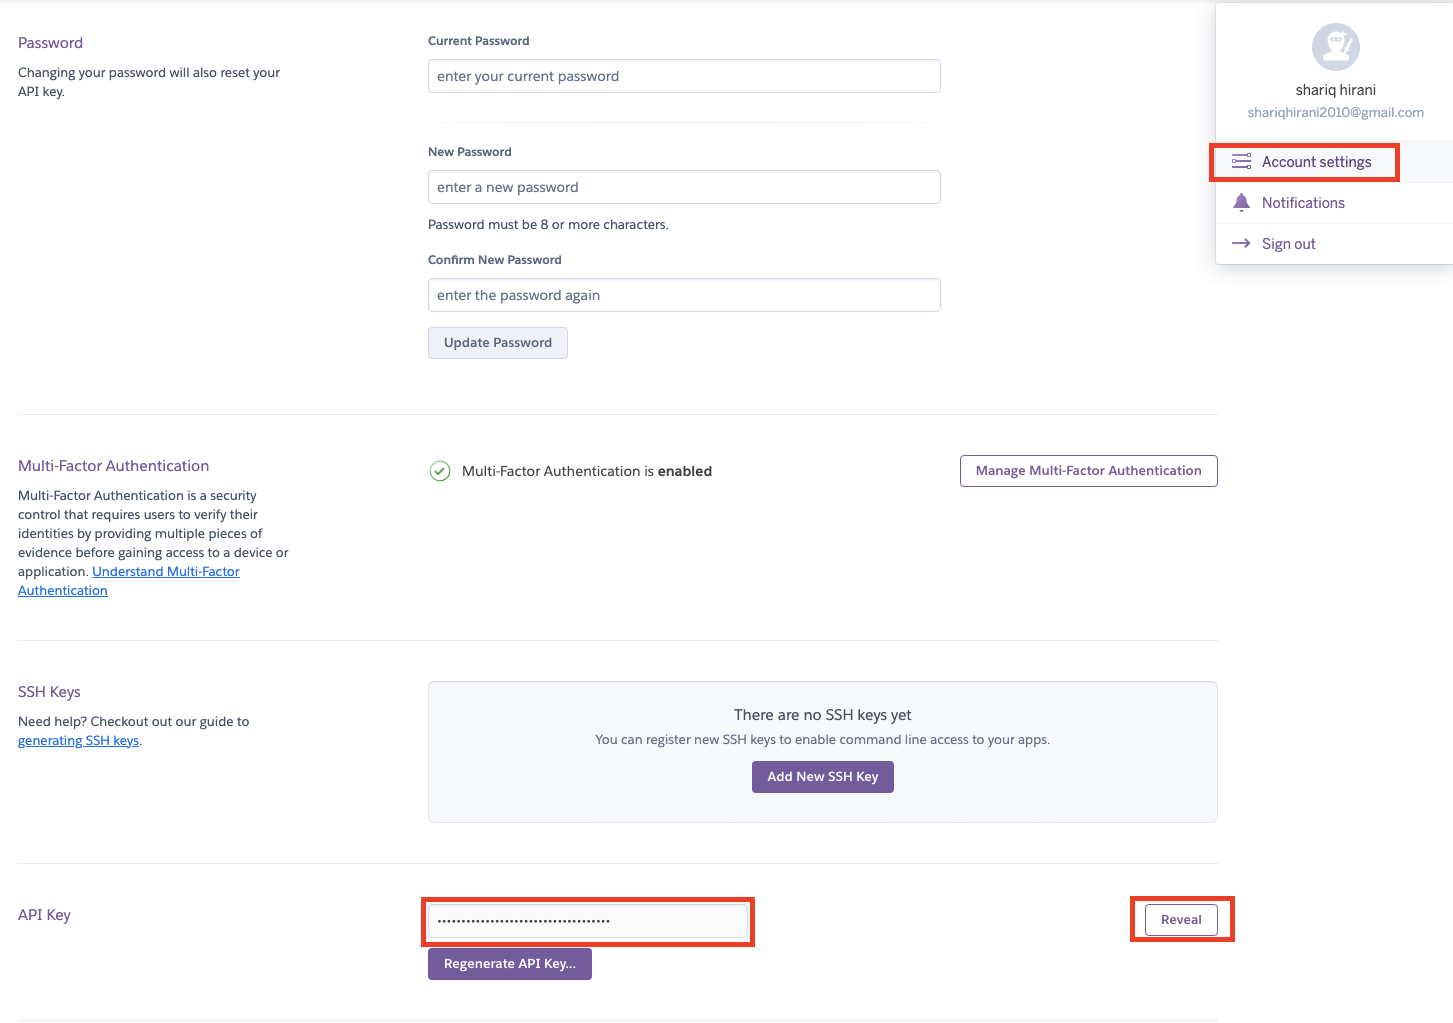
Retrieve and Set the Heroku API Key
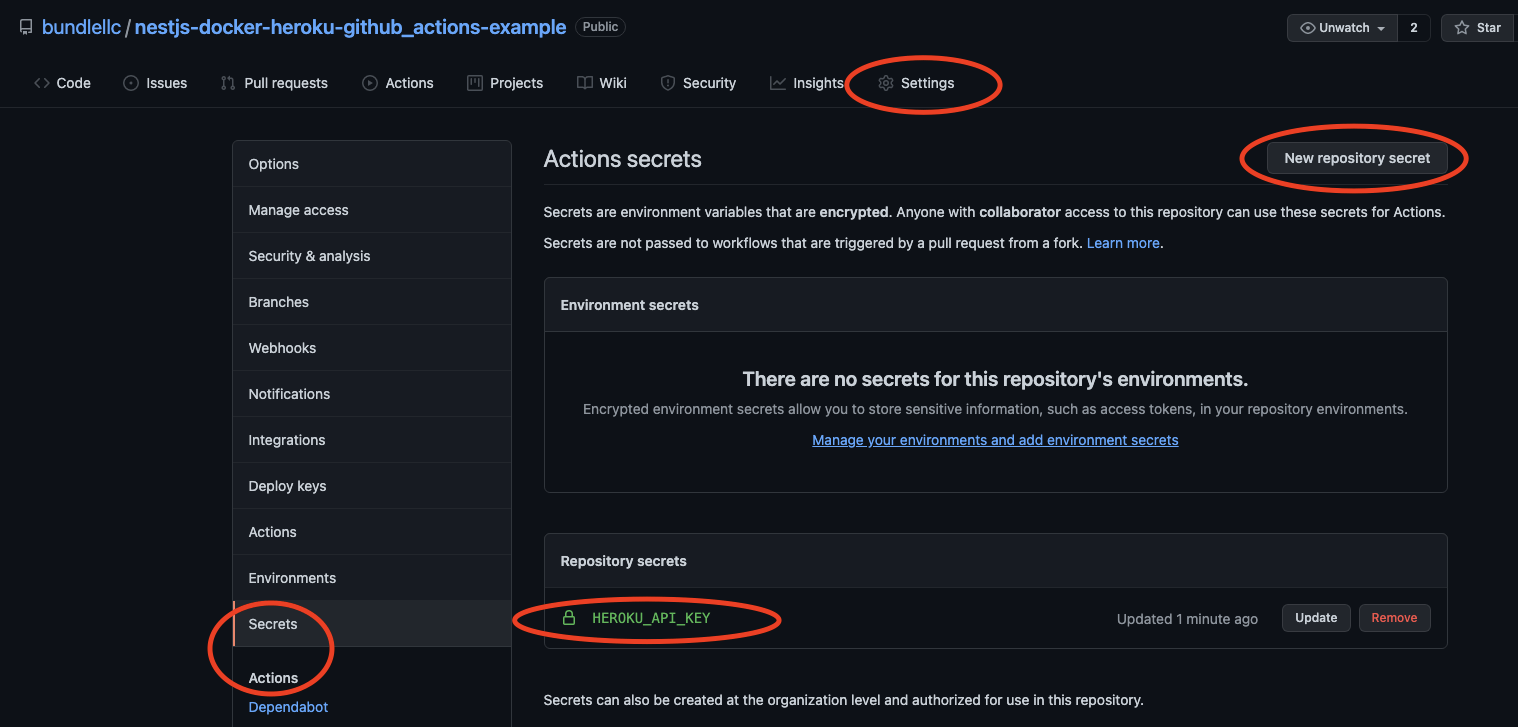
Go back to Heroku and grab your API key from the Account settings page. Press Reveal and copy the key.

Head to GitHub and then your repository secret settings to add the key. Press New repository secret to add your key and once completed, it should appear in the Repository secrets section.
Trigger the GitHub Action
We should be ready to trigger our GitHub Action and have our NestJS Docker application deploy on Heroku with this next step. All you need to do is add, commit, and push up your changes (namely the GitHub Actions workflow) and your pipeline should automatically trigger!

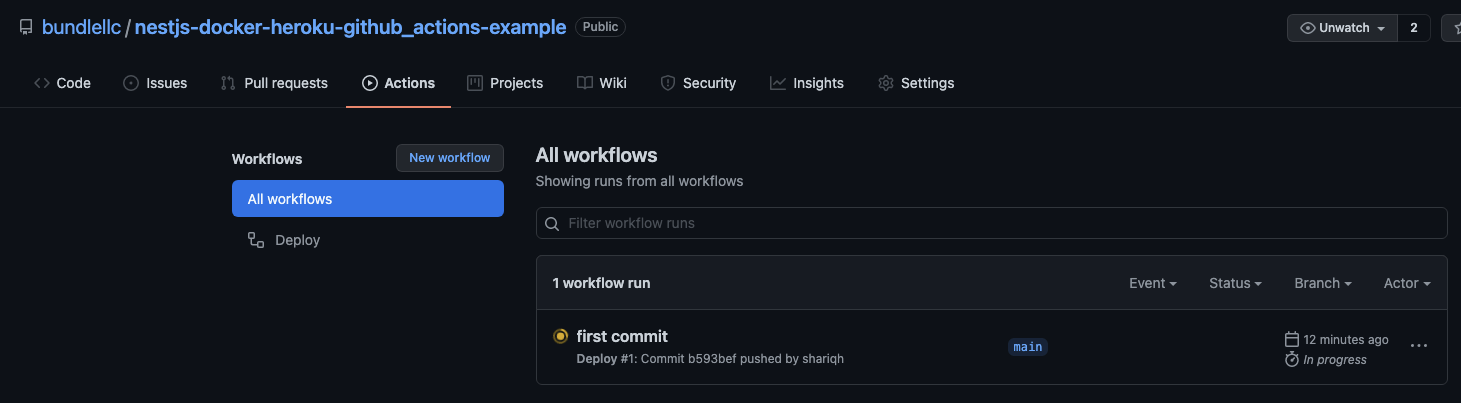
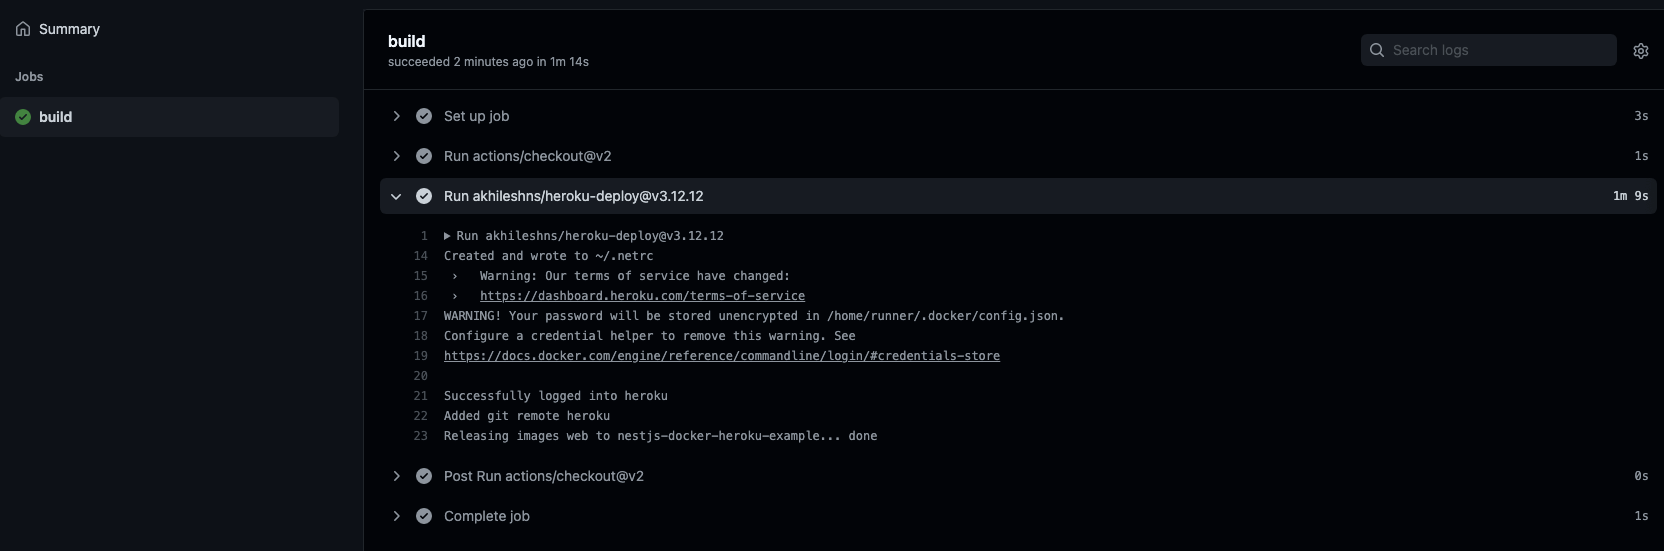
Clicking on the workflow will give you more details and logs about your run.

You can also watch your Heroku logs for your application to see the status, but you should expect it to take a couple of minutes to populate after the GitHub Actions workflow.

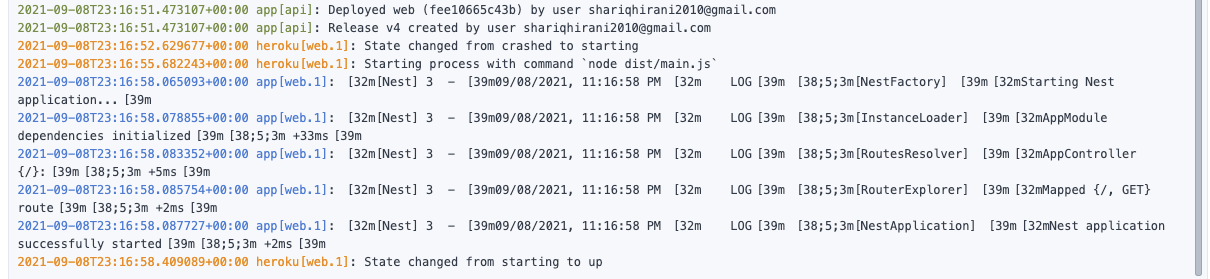
Once the pipelines finish and your state has changed to up, select the Open app button on Heroku to see your "Hello World" displayed in all its glory!


Good job on completing the tutorial!


NestJS Docker Production Environment
For a production environment, it is not recommended that you use Docker as a standalone offering. This guide, combined with a robust container orchestration tool like Kubernetes, will help create a resilient production deployment with NestJS.